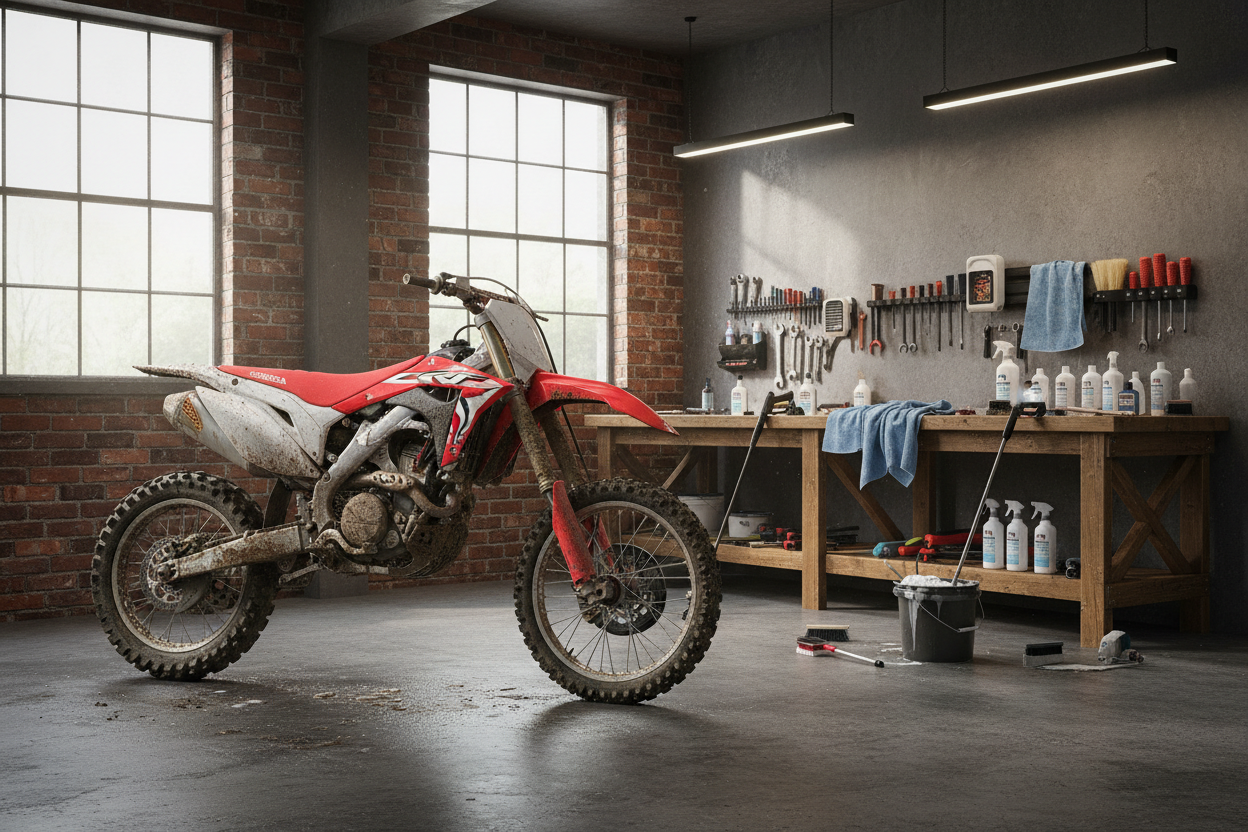
Top 5 Mistakes to Avoid When Washing Off-Road Vehicles
Keeping your dirt bike, ATV, or UTV clean is one of the easiest ways to protect your investment and maintain peak performance. However, many riders unknowingly make mistakes during the cleaning process that can lead to damaged plastics, faded graphics, corrosion, and premature wear.
A proper wash routine doesn't just make your machine look good—it helps you spot maintenance issues early, protect critical components, and extend the life of your vehicle. Unfortunately, using the wrong techniques can sometimes do more harm than good.
If you want to keep your off-road vehicle looking and performing its best, avoid these five common washing mistakes.
Mistake #1: Using Too Much Pressure

Pressure washers are one of the most popular tools for cleaning dirt bikes and ATVs. They can quickly remove mud, sand, and trail debris, making cleanup much faster than using a garden hose alone.
The problem arises when riders use excessive pressure or spray sensitive areas too closely.
High-pressure water can force moisture into:
-
Wheel bearings
-
Swingarm bearings
-
Suspension linkage
-
Electrical connectors
-
Airbox seals
-
Engine seals
Once water enters these components, it can wash away lubricants and create conditions that lead to corrosion and premature wear.
How to Avoid It
If you're using a pressure washer, keep the nozzle at a safe distance and avoid concentrating water on bearings, seals, and electrical components.
Instead of relying on pressure alone, use a quality off-road wash soap that helps loosen dirt and grime so it can be removed safely.
Remember, the goal is to clean the vehicle—not blast it apart.
Mistake #2: Letting Mud Sit Too Long
After a long ride, it's tempting to park your machine and deal with the cleanup later. While this might seem harmless, allowing mud to sit for days or weeks can create several problems.
Mud traps moisture against metal surfaces and components. Over time, this can contribute to:
-
Surface corrosion
-
Stained plastics
-
Rust formation
-
Difficult-to-remove buildup
Dried mud can also hide loose bolts, damaged parts, fluid leaks, and other maintenance issues that should be addressed before your next ride.
The longer mud remains on the vehicle, the more difficult it becomes to remove.
How to Avoid It
Try to wash your dirt bike or ATV within 24 hours of riding whenever possible.
Even if you don't have time for a full detail, a quick rinse can prevent mud from hardening and becoming much more difficult to clean later.
Developing a post-ride cleaning routine will save time and effort in the long run.
Mistake #3: Using Household Cleaners
Not all cleaning products are created equal.
Many riders assume that household degreasers, dish soap, or all-purpose cleaners will work just as well as products designed specifically for off-road vehicles.
Unfortunately, these products can sometimes be too harsh.
Certain household cleaners may:
-
Strip protective coatings
-
Dry out plastics
-
Damage graphics
-
Leave behind residue
-
Cause discoloration
Off-road vehicles are exposed to extreme environments, and the surfaces on dirt bikes and ATVs often require specialized care.
How to Avoid It
Use cleaning products specifically formulated for off-road vehicles whenever possible.
These products are designed to safely clean:
-
Plastics
-
Paint
-
Graphics
-
Metal surfaces
-
Rubber components
A dedicated off-road wash solution helps remove dirt and grime effectively while minimizing the risk of damage.
Mistake #4: Skipping the Drying Process
Many riders finish rinsing their machine and immediately put it away.
While it may look clean, water left sitting on the vehicle can create several issues.
Standing water can:
-
Cause water spots
-
Promote corrosion
-
Leave mineral deposits
-
Attract dust and dirt
Moisture trapped in hidden areas can also affect electrical components and hardware over time.
Drying is an important step that should never be overlooked.
How to Avoid It
After washing, use clean microfiber towels to remove excess water from exposed surfaces.
Pay special attention to:
-
Wheels
-
Frame rails
-
Engine components
-
Controls
-
Plastics
Compressed air can be extremely helpful for removing water from hard-to-reach areas such as radiator fins, spoke nipples, and tight frame sections.
A few extra minutes spent drying your vehicle can make a significant difference in its appearance and long-term condition.
Mistake #5: Forgetting to Protect Plastics and Surfaces
Most riders focus entirely on cleaning and overlook protection.
While washing removes contaminants, protection products help preserve the appearance and durability of your machine.
Off-road vehicles are constantly exposed to:
-
UV rays
-
Mud
-
Water
-
Sand
-
Trail debris
Over time, these elements can cause plastics to fade, lose their shine, and develop a worn appearance.
A protective dressing or surface protectant helps create a barrier against environmental exposure.
How to Avoid It
After the vehicle is completely dry, apply a quality plastic and trim protectant.
Benefits include:
-
Improved appearance
-
Reduced fading
-
Enhanced UV protection
-
Easier future cleaning
-
Longer-lasting plastics
Many riders find that protected surfaces release mud more easily during future washes, reducing cleanup time after rides.
Bonus Tip: Don't Ignore the Details
Even when riders avoid the major mistakes, many still overlook critical areas during the cleaning process.
Make sure you inspect:
-
Chain condition
-
Sprockets
-
Brake components
-
Foot pegs
-
Controls
-
Hardware
Cleaning time is the perfect opportunity to perform a quick inspection and catch potential issues before they become expensive repairs.
Many experienced riders consider washing part of their maintenance routine rather than a separate task.
A clean machine makes it much easier to identify wear, leaks, loose bolts, and damaged parts.
Final Thoughts

Washing your dirt bike, ATV, or UTV should do more than improve its appearance—it should help protect your investment and prepare it for the next ride.
By avoiding these common mistakes, you can extend the life of your vehicle, reduce maintenance costs, and keep your machine looking its best season after season.
To recap, avoid:
-
Using excessive pressure.
-
Letting mud sit too long.
-
Using harsh household cleaners.
-
Skipping the drying process.
-
Neglecting surface protection.
A proper wash routine only takes a little extra effort, but the long-term benefits are well worth it. Clean regularly, inspect often, and protect your machine so it's always ready for the next adventure.