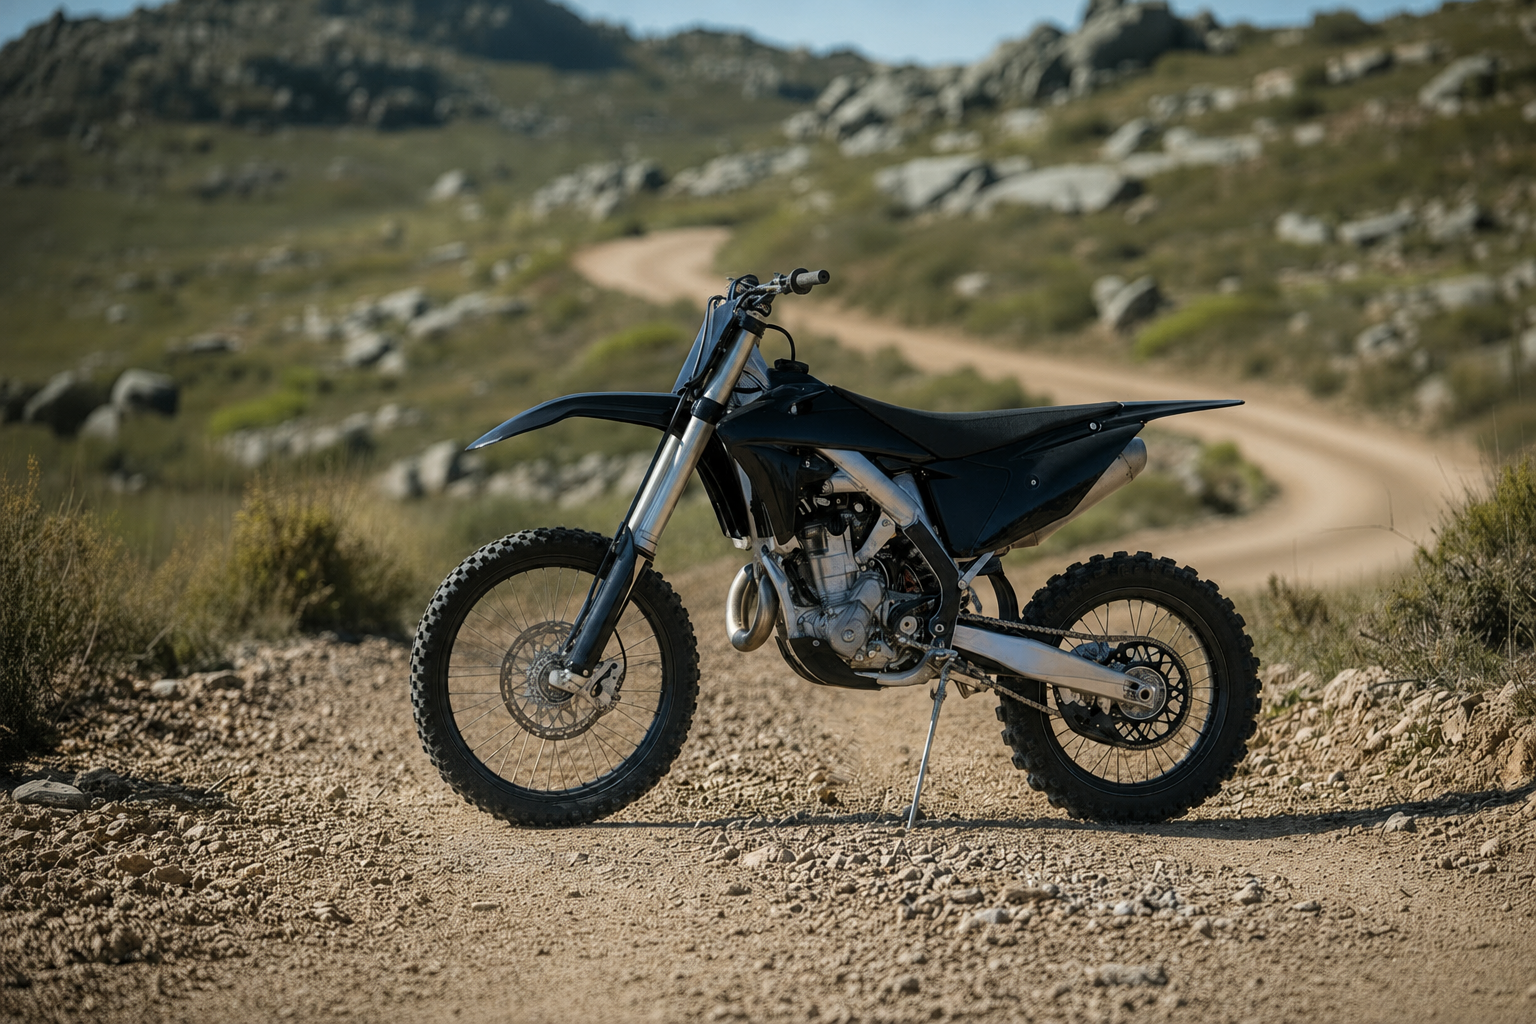
A Step-by-Step Guide to Cleaning Your Dirt Bike or ATV After a Muddy Ride
There's nothing quite like a day spent tearing through mud, sand, and trails on your dirt bike or ATV. While mud-covered plastics and caked-on tires may be a badge of honor after a great ride, leaving dirt and grime on your machine for too long can lead to premature wear, corrosion, and unnecessary maintenance issues.
Regular cleaning isn't just about appearance—it's an important part of protecting your investment and ensuring your machine performs at its best. Whether you're a weekend trail rider, motocross enthusiast, or ATV owner, following a proper cleaning routine can help extend the life of your vehicle while making inspections and maintenance much easier.
In this guide, we'll walk through the step-by-step process of properly cleaning your dirt bike or ATV after a muddy ride.
Why Cleaning Your Off-Road Vehicle Matters
Mud, sand, clay, and debris don't just sit on the surface of your machine. Over time, they can trap moisture against metal components, accelerate corrosion, and hide damaged parts that need attention.
A clean machine allows you to:
-
Inspect for loose bolts and damaged components
-
Prevent premature wear and corrosion
-
Protect plastics, paint, and metal surfaces
-
Maintain resale value
-
Keep your vehicle looking its best
Simply put, a few minutes spent cleaning today can save hours of repairs later.
Step 1: Gather Your Cleaning Supplies
Before you begin, make sure you have the right supplies ready.
Recommended items include:
-
Off-road wash soap
-
Degreaser for heavy grime
-
Soft wash mitt or microfiber towel
-
Soft-bristle brushes
-
Garden hose or pressure washer
-
Drying towels
-
Plastic and trim protectant
Using products designed specifically for off-road vehicles helps ensure that plastics, graphics, paint, and metal components remain protected throughout the cleaning process.
Step 2: Let the Mud Dry Slightly
Many riders immediately start spraying their vehicle as soon as they return from the trail. While this may seem logical, allowing extremely wet mud to dry slightly can often make removal easier.
If the mud is excessively thick, give it a short period to dry before beginning the wash process. This prevents excessive smearing and allows larger chunks to break away more easily during rinsing.
Avoid letting mud sit for days, however, as it becomes more difficult to remove and may begin trapping moisture against components.
Step 3: Perform an Initial Rinse

Start by thoroughly rinsing your dirt bike or ATV from top to bottom.
Focus on removing:
-
Loose dirt
-
Mud buildup
-
Sand
-
Grass and trail debris
A pressure washer can be effective when used properly, but avoid directing high-pressure water at bearings, seals, electrical connections, wheel hubs, and other sensitive components.
The goal is to remove the majority of loose contamination before applying any cleaning products.
Take your time during this stage. The more dirt you remove now, the easier the rest of the cleaning process will be.
Step 4: Apply an Off-Road Wash Soap

Once the initial rinse is complete, apply your off-road wash solution.
Many riders prefer using a foam cannon or foam sprayer because it helps cover the vehicle evenly while allowing the cleaning agents to dwell on the surface.
Allow the soap to sit for several minutes to loosen dirt, mud, and trail grime. Avoid allowing the product to dry completely on the surface, especially in direct sunlight.
Pay special attention to:
-
Plastics
-
Fenders
-
Fuel tank shrouds
-
Swingarms
-
Wheels
-
Frame components
The cleaning solution should begin breaking down contaminants and lifting dirt away from the surface.
Step 5: Scrub Stubborn Areas

After the soap has had time to work, use soft brushes and wash mitts to agitate heavily soiled areas.
Common trouble spots include:
-
Engine cases
-
Skid plates
-
Wheel spokes
-
Foot pegs
-
Underside of fenders
-
Swingarm pivots
For grease, chain fling, and oily buildup, use a dedicated degreaser designed for off-road equipment.
Be careful not to use overly aggressive brushes that can scratch plastics or graphics.
The objective is to remove contaminants safely without damaging the surfaces you're trying to protect.
Step 6: Perform a Thorough Final Rinse
Once all surfaces have been cleaned, thoroughly rinse the vehicle again.
Work from the top down to ensure all soap residue is removed.
Leftover soap can attract dust and leave streaks behind, so spend a few extra minutes ensuring every area is properly rinsed.
Inspect the vehicle as you rinse to confirm that all mud, grease, and debris have been removed.
If necessary, repeat the cleaning process on heavily contaminated areas.
Step 7: Dry the Vehicle Properly
Many riders overlook this step, but drying is just as important as washing.
Use clean microfiber towels to remove excess water from:
-
Plastics
-
Metal surfaces
-
Wheels
-
Controls
Compressed air can also be useful for blowing water out of hard-to-reach areas such as:
-
Radiator fins
-
Engine components
-
Wheel hubs
-
Frame cavities
Removing standing water helps reduce water spots and minimizes the risk of corrosion.
Step 8: Protect Plastics and Trim
After the vehicle is clean and dry, apply a quality plastic and trim protectant.
This step helps:
-
Restore a like-new appearance
-
Protect against UV damage
-
Reduce fading
-
Repel dirt and mud during future rides
Many riders skip this stage, but it can make a significant difference in maintaining the appearance of plastics over time.
A properly protected surface is often easier to clean after future rides as well.
Common Cleaning Mistakes to Avoid
Even experienced riders occasionally make mistakes during the cleaning process.
Here are a few common ones to avoid:
Using Excessive Pressure
High-pressure water can force moisture into bearings, seals, and electrical components. Use caution when operating pressure washers.
Washing in Direct Sunlight
Hot surfaces and direct sunlight can cause soap to dry prematurely, leading to streaking and water spots.
Ignoring Hard-to-Reach Areas
Mud often accumulates underneath fenders, around suspension components, and inside frame sections. These areas should not be overlooked.
Skipping Protection Products
Cleaning removes contaminants, but protection products help preserve the appearance and longevity of your vehicle.
Waiting Too Long to Wash
The longer mud sits on the machine, the more difficult it becomes to remove.
Final Thoughts
Cleaning your dirt bike or ATV after a muddy ride is about much more than appearance. A proper wash routine helps protect your investment, simplify maintenance inspections, and keep your machine performing at its highest level.
By following these simple steps—rinse, wash, scrub, rinse again, dry, and protect—you can keep your off-road vehicle looking great and ready for its next adventure.
A clean machine is easier to maintain, easier to inspect, and ultimately more enjoyable to ride. Make cleaning part of your post-ride routine, and your bike or ATV will reward you with years of reliable performance.